





🛠️📐 Precision Miter Saw Protractor – 🔥 Easy Angle Finder & Cutting Guide | ⚡ Accurate Angle Measurement for Woodworking, Trim, Framing & DIY Projects 🪚✨
🛠️📐 Precision Miter Saw Protractor – 🔥 Easy Angle Finder & Cutting Guide | ⚡ Accurate Angle Measurement for Woodworking, Trim, Framing & DIY Projects 🪚✨

BUNDLE & SAVE
Couldn't load pickup availability

🛠️📐 Precision Miter Saw Protractor – 🔥 Easy Angle Finder & Cutting Guide | ⚡ Accurate Angle Measurement for Woodworking, Trim, Framing & DIY Projects 🪚✨
Stop Guessing Your Angles.
Capture the angle at the workpiece, read the marked scale, transfer the setup and make the cut with a clearer reference—without relying on eyeballing the corner.

Guessing The Angle Is Where Re-Cuts Begin.
Trim, framing and custom joinery often meet at real-world angles that don't look exactly like the number you expected.
Instead of cutting first and correcting afterward, capture the existing angle before the board reaches the saw.
Use the actual corner or workpiece as your starting reference.
A clearer angle reference can reduce unnecessary test-and-adjust cycles.
Measure before cutting so the final pieces have a better chance of meeting cleanly.

Capture The Angle. Read The Scale.
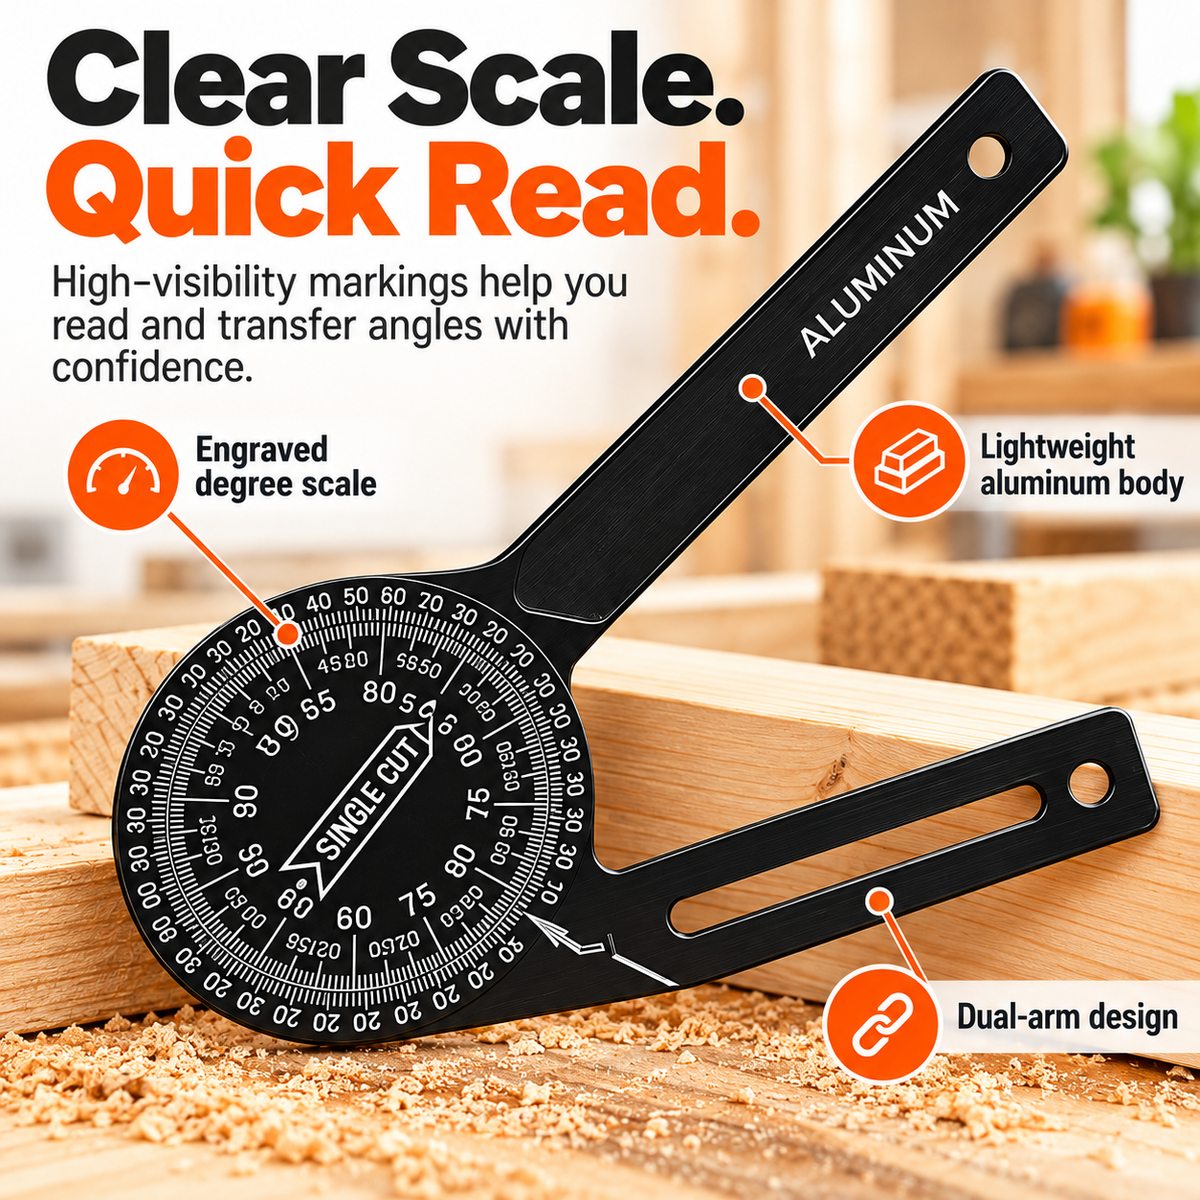
The circular center uses high-contrast degree markings, while the dual-arm design opens to match the angle you're checking.
Current product imagery also shows a dedicated “Single Cut” reference area on the dial for common cutting workflows.
Let The Corner Tell You The Angle.
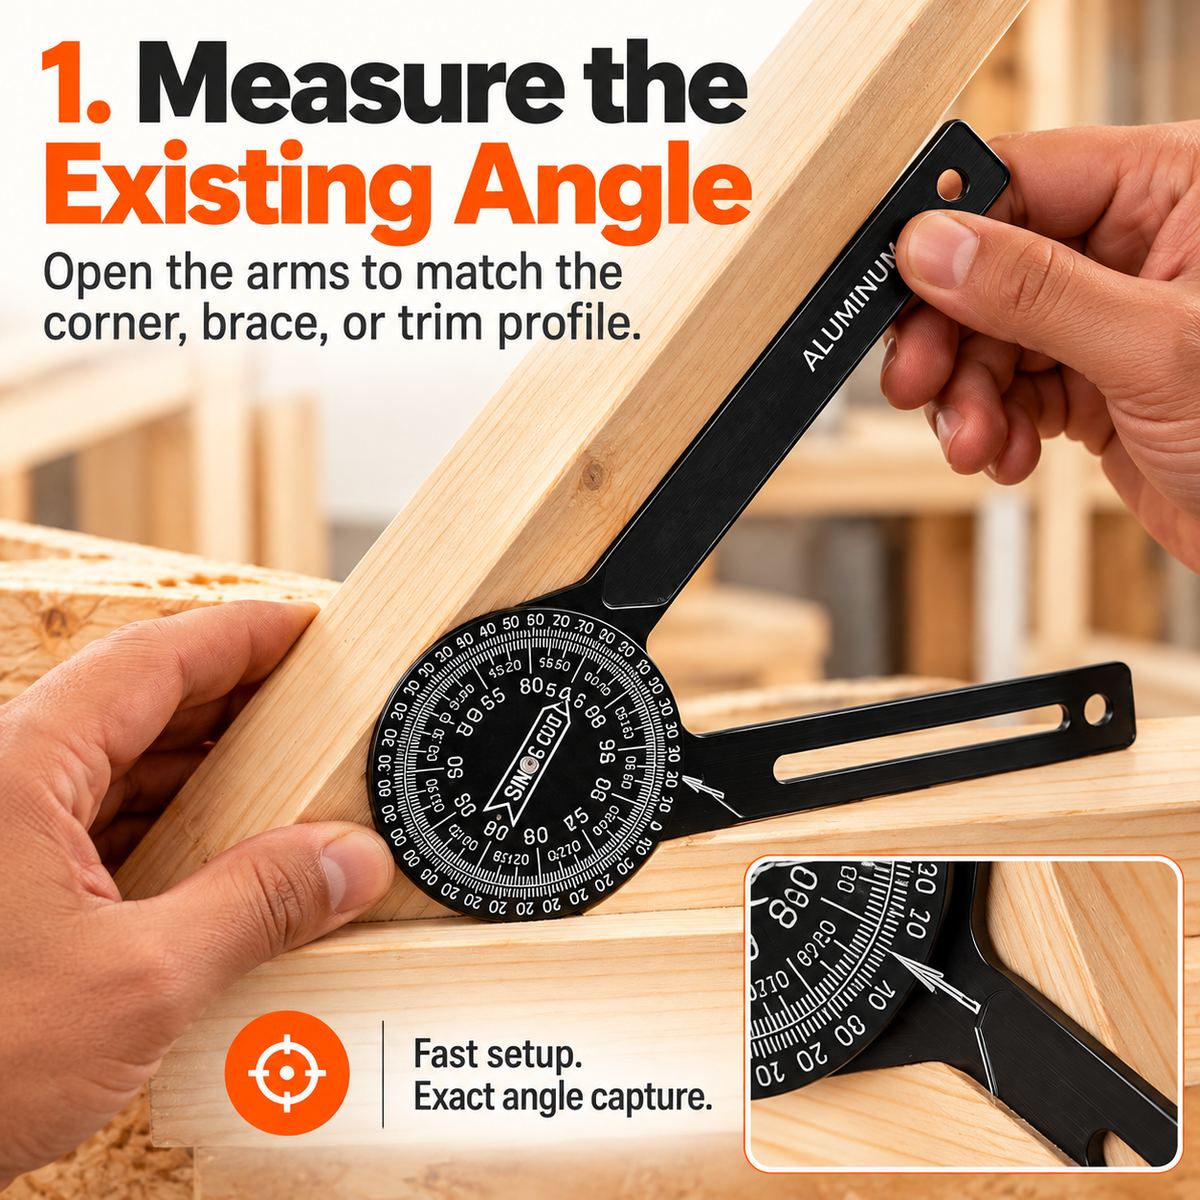
Open the arms until they sit against the two surfaces, pieces or trim profiles you want to match.
This lets you reference the actual geometry in front of you rather than estimating it from appearance.
Bring The Angle Back To The Board.
Once the angle has been captured, the tool can also be placed against the workpiece to help transfer and mark the required cut direction.
That keeps the measurement and layout process connected instead of starting again with a separate guess.

Cut With A Real Reference Instead Of A Hunch.
Use the measured angle to inform the appropriate miter-saw setup for your project and cutting method.
The result you're aiming for is simple: less time correcting avoidable angle mistakes and more time moving the build forward.
Measure → Mark → Cut.
The current product imagery presents a straightforward workflow designed around capturing and transferring woodworking angles.
Open the two arms against the existing corner, brace, trim profile or workpiece.
Use the captured angle and tool geometry to transfer the cut direction to the workpiece when appropriate.
Configure the saw according to the measured angle, joint type and your saw manufacturer's instructions.
Trim. Framing. Railings. Custom Builds.
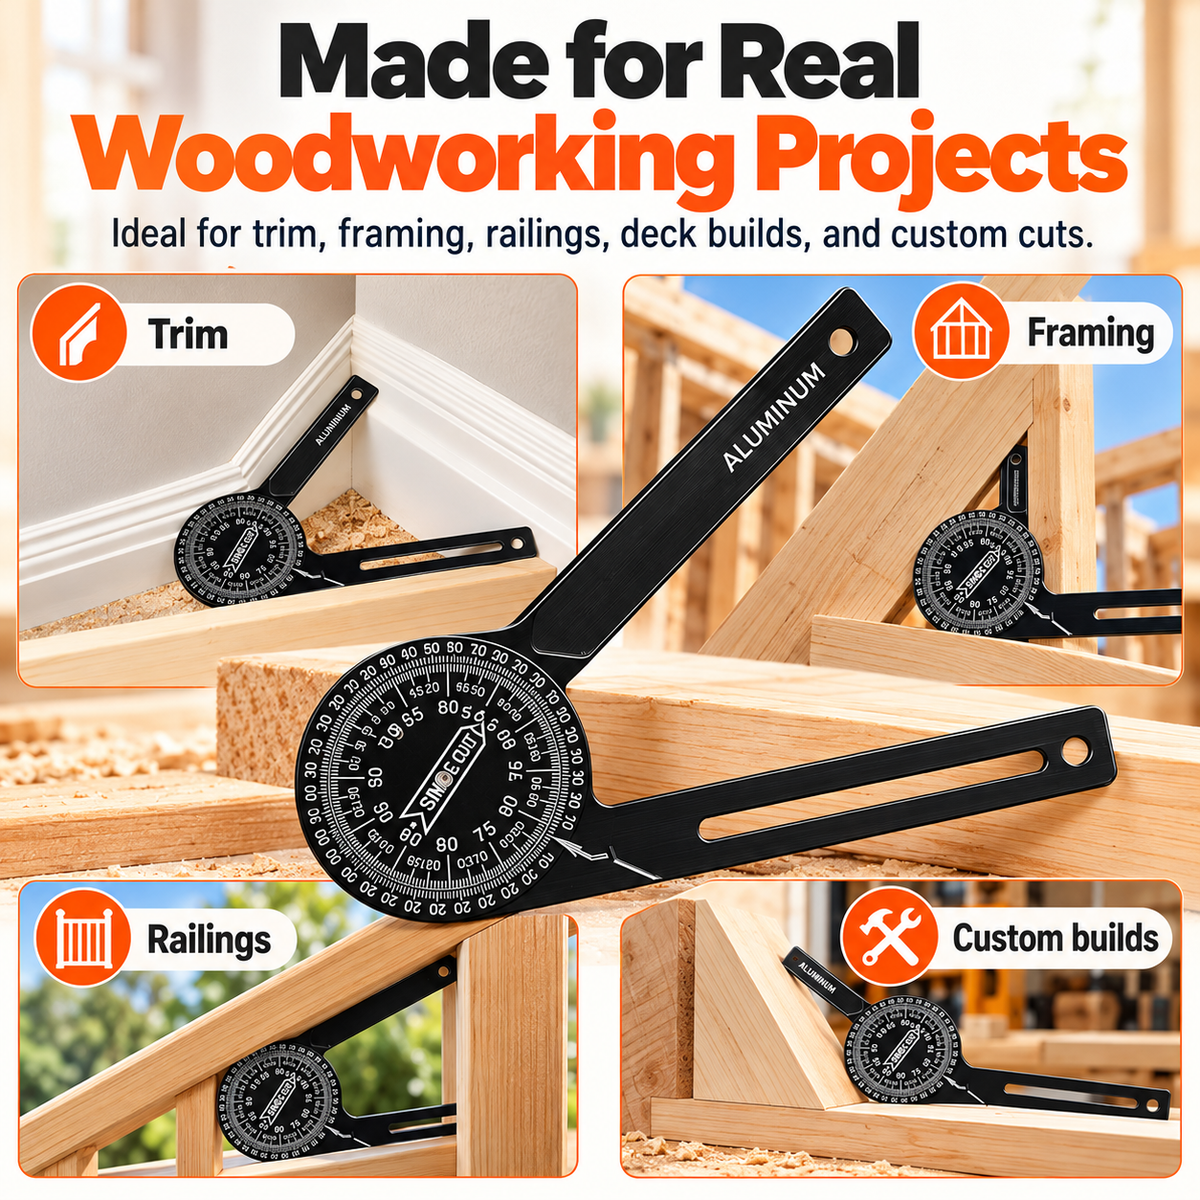
The current imagery specifically presents the tool across multiple woodworking and construction-style measuring scenarios.
Capture wall and molding angles before cutting matching pieces.
Reference angles where braces and framing members meet.
Measure sloped or angled railing-related layouts.
Use it wherever a project requires an angle to be captured and transferred.
Lightweight Aluminum. Compact Dual-Arm Form.
Current product imagery identifies the body as aluminum and presents the tool as lightweight and compact enough for regular workshop or jobsite use.
There are no batteries, screens or electronic controls involved—the angle is captured mechanically by the two arms and read from the scale.
Current imagery explicitly labels the tool construction as aluminum.
The compact profile is presented as easy to keep alongside everyday layout tools.
Mechanical angle capture means no charging or digital display is required.

Clear Reference Marks Help Keep The Workflow Moving.
High-contrast circular markings provide the visual reference for the captured angle.
The current dial visibly includes a dedicated area labeled “SINGLE CUT.”
The two arms physically follow the surfaces whose relationship you want to capture.
Built Around A Simple Goal: Know The Angle Before You Cut.
Open the two arms against the surfaces to capture the angle directly from the work area.
Current imagery shows clearly printed or engraved degree references around the circular dial.
The center dial includes a visible Single Cut reference intended to support common woodworking layouts.
The product imagery explicitly identifies the main body as aluminum.
Current imagery demonstrates placing the tool on the board and marking the intended cut direction.
Shown applications include trim, framing, railings and custom woodworking projects.
What The Current Product Page & Imagery Clearly Support.
Product imagery demonstrates the measured angle being used as part of a miter-saw workflow. The saw, lumber, pencil, square and other workshop tools shown are not confirmed as included with the protractor.
The current listing does not clearly confirm overall dimensions, arm length, aluminum grade, tool weight or a certified accuracy tolerance. Those specifications are intentionally not invented here.
Before You Make The Cut.
What does this tool do?
It mechanically captures the angle between two surfaces or workpieces so you can read, transfer or use that information when preparing a cut.
Is it specifically for miter saw work?
Miter-saw setup is one of the main workflows shown. The tool itself measures and transfers angles; the saw performs the actual cut.
Can I use it for trim?
Yes. Trim is specifically shown as one of the intended applications in the current product imagery.
Can it be used for framing?
Yes. Framing and angled braces are also shown among the intended project types.
Is the body aluminum?
Yes. The current product imagery explicitly labels the body as aluminum.
Does it need batteries?
No. The angle is captured mechanically by the dual-arm design and read from the physical scale.
What does the “Single Cut” area mean?
The current dial visibly contains a Single Cut reference intended to assist with direct cutting-angle workflows. Always confirm the correct saw setting for your joint type and follow your saw manufacturer's instructions.
Does it cut the wood itself?
No. It is a measuring and layout tool. A separate compatible saw or cutting tool is required to make the actual cut.
Is the miter saw included?
No saw is confirmed as part of the current product package. It appears in the imagery to demonstrate how the angle measurement can be used during cutting.
Spend Less Time Guessing Why The Joint Doesn't Fit.
Capture the angle at the project, transfer the information to your layout or saw setup and approach the next cut with a clearer reference.
Measure and mark with the saw powered off. Follow the cutting-tool manufacturer's safety instructions and keep hands clear of the blade path during cutting.


